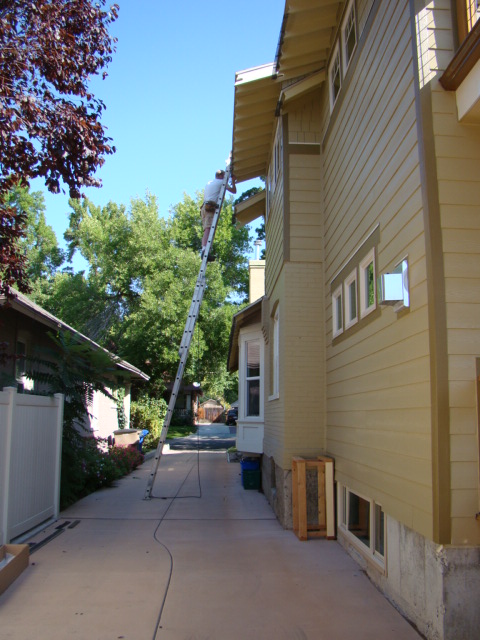
We have been doing a bunch of exterior projects these past two months before the cold weather hit. On Drew's days off, he has been painting and patching on this 100-year old house. Here he is installing the
Rainhandlers on the eaves using a very gigantic rented extension ladder.
Meanwhile, I've been doing all the fun stuff. After we put in the
sod and the
flagstone path, the last part to do on the sod area was add some mulch around the edges on the outside of the lawn edger strips. Another trip for me to the rock store (joy!) where I hemmed and hawed over the selection of gravel mulch. I really liked Mexican Beach Pebble, but it was more expensive than the other little rocks, so I waited until Drew came home from work and drug him back to the stone yard to get his opinion. Drew has learned that indulging me in anything involving natural stone is an easy way to keep a happy wife, so he agreed that Mexican Beach Pebble was a good choice.
Isn't it so pretty! Well, you can't really see its earthy beauty in the pictures, but it has lots of grays and purples that I figured would be a nice contrast to all the red rock flagstone and boulders we have going on in the backyard.
So here are a few pictures of it installed around the edges of the sod.
The next step was to add deck skirting. Back when we built the
outdoor room, we ripped cedar 2x4s to make strips to hold the 4x4 galvanized livestock panel material in place. We had a lot of leftover strips that were not the perfect dimension, so I decided to use them and new 2x4s to create lattice. Here is the frame all put together with construction adhesive and brads.
I love to use the nail guns. Here is one of the completed panels.
And here it is hung from the deck.
I have two more to make, but the weekend ran out and then I had to wait for the special order 10-foot cedar 2x4s to come in. Anyway, I think it looks pretty cool, and they are removable if we need to access the area under the deck.
As if that were not enough fun landscaping projects, I did this.
A few of years ago,
I hastily put flagstone in this spot to store the flagstone until we needed it for the backyard. Well, in the
last post, you saw that we needed all the flagstone we had plus some, so it was time to remake the trash can storage area beside our driveway. This time I did it right with a base of compacted sand and weed barrier fabric, and I made it level to boot. I used bricks that used to be the back wall of the house before last year's addition. (These are the ones everyone thinks I am crazy to be hoarding.) It was kind of a pain to chisel off the mortar, but worth it to save some $ and reuse a resource. The trash cans are so much happier now because they can be easily rolled in and out.


The place looks amazing guys! Like a new house
ReplyDeleteYou have been so busy! I think you may need a vacation to Oregon just to recuperate :) The place is looking great!
ReplyDeleteWow! Love everything that you've done. It looks terrific.
ReplyDelete